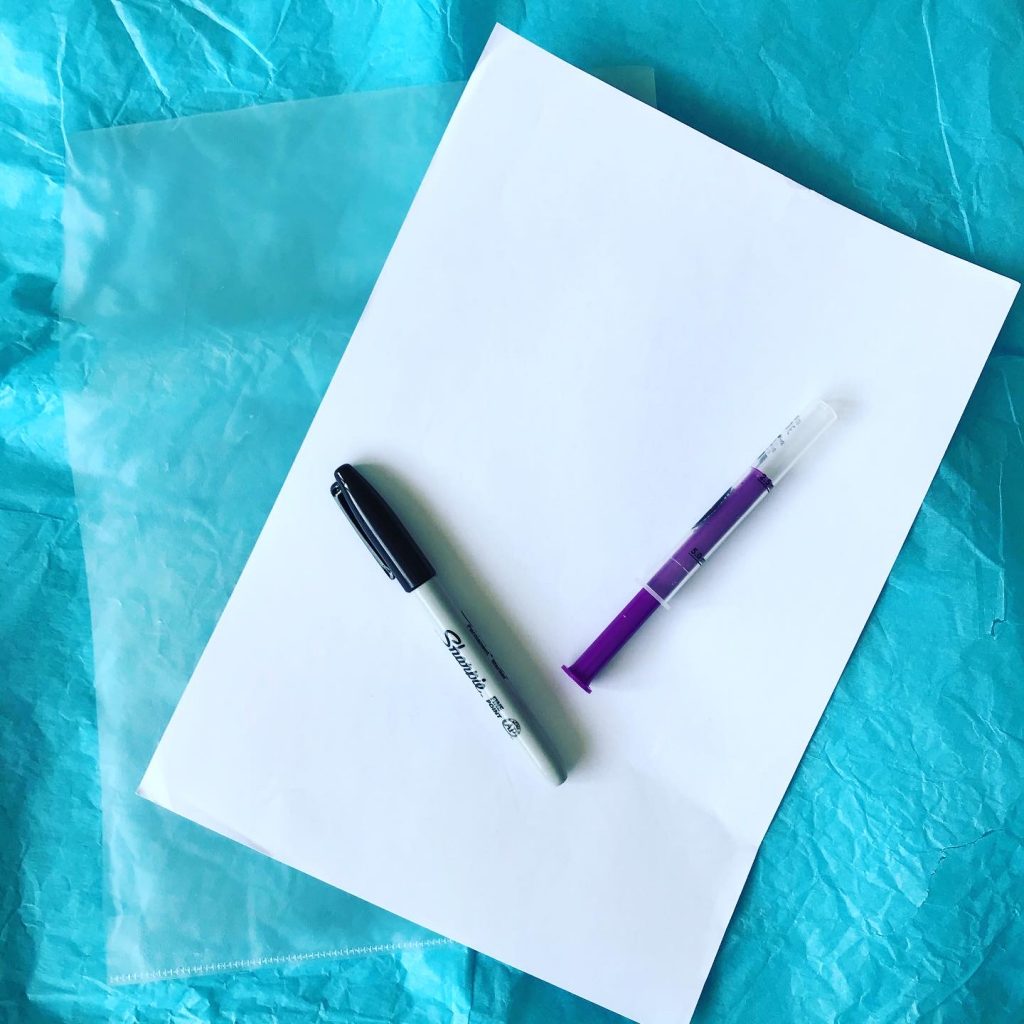
Sign up for free

Ice Fishing

Ice Fishing

You will need

  • ice cubes
  • A bowl of cold water
  • Food colouring
  • String
  • Salt

How to do it

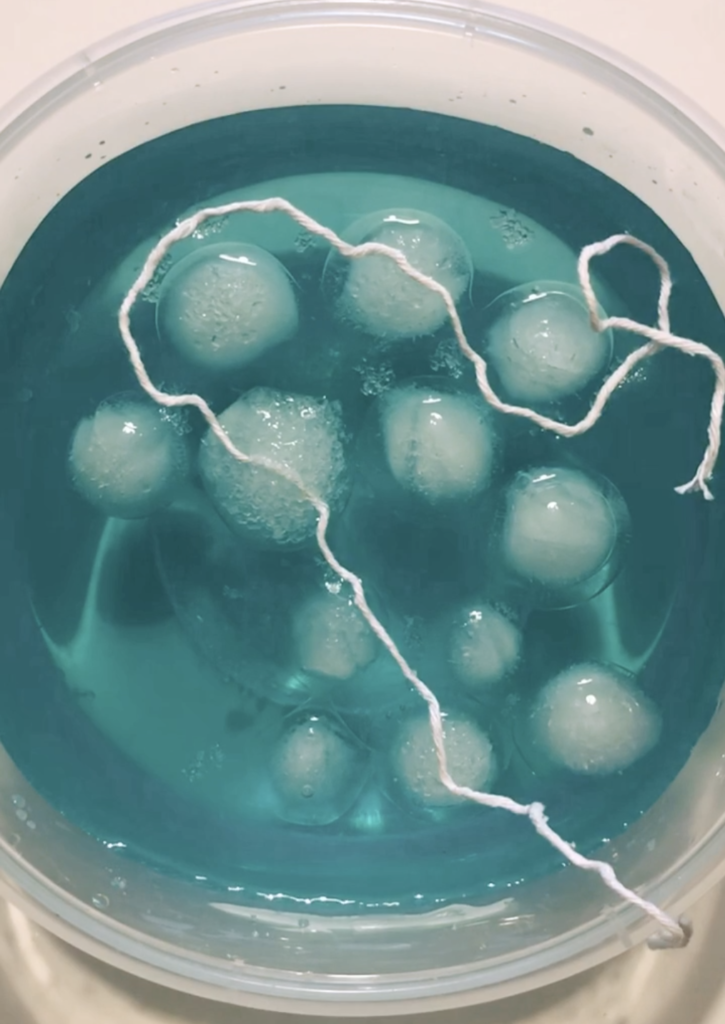
  1. Fill a bowl with cold water.
  2. Add a drop of food colouring to the water to create a colour contrast. Mix well.
  3. Drop in the ice cubes.
  4. Position your ‘fishing rod’ (string) across the ice.
  5. Sprinkle salt on the areas where the string and ice meet. Then leave for one minute.
  6. Lift up the string to see how much ice your fishing rod has caught!

What are we learning

Salt lowers the freezing point of water, helping to dissolve it faster. As it melts, the string sinks into the ice cube. The water dilutes the salt/water mixture, causing the ice on the top to refreeze, trapping the string. 

Investigate

Find out about how salt is used on icy roads to keep them safe in the winter.

Careers associated with this activity

Flower Chemistry

Flower Chemistry

You will need

  • A flower
  • A pestle and mortar
  • A jug of water and a teaspoon
  • Vinegar
  • Bicarbonate of Soda
  • A paint/baking tray

How to do it

  1. Drop two petals into a pestle and mortar.
  2. Add two teaspoons of water and mix until the water changes colour.
  3. Use a syringe to collect up the mixture. Then add it into three different tray wells.
  4. Add a teaspoon full of vinegar to the first tray well and mix. This is your acid indicator.
  5. Add a teaspoon of bicarbonate of soda mixed with water to the second tray well and mix. This is your base indicator.
  6. Compare the colours in each tray well. What is different about them? Why do you think this is?

What are we learning

A rose is an example of an acid-base indicator. Other flowers that you could use include tulips and pansies. When we add an acid it turns the petal mixture an orange or pink colour. When we add the base it turns the petal mixture a blue or purple colour.

Investigate

Now try this with a range of other flowers. Which ones are acid-base indicators? You could also try this activity with fruit and vegetables.

Careers associated with this activity

Falling Raindrops

MAIN IMAGE

Falling Raindrops

What holds raindrops together?

  • A pipette or syringe
  • Water
  • A piece of A4 paper
  • A pen
  • A plastic wallet

How to do it

Fill the pipette or syringe with water. Then carefully add drops of water to the raindrop outline. How many drops of water can the raindrop hold before the water spills over the edge?

Repeat the activity on a raindrop of a different size or shape.

  1. Begin by drawing outlines of raindrops onto a piece of paper. Try to vary the size and shape of each raindrop.
  2. Place the paper inside a plastic wallet and position it on a flat surface. The plastic wallet helps to protect the paper from getting smudged or damaged as you add the water.
  3. Fill the pipette or syringe with water. Then carefully add drops of water to the raindrop outline. How many drops of water can the raindrop hold before the water spills over the edge? 
  4. Repeat the activity on a raindrop of a different size or shape.

What are we learning

As we add more drops of water onto the raindrop we see a dome shape forming. The water molecules are attracted to each other and make a single large drop. At the same time, a property called surface tension tries to minimise the surface area of the water, making the curve shape. This also prevents the water from spilling out. However, as we add more drops, the gravitational pull on the weight of the water eventually becomes more powerful than the surface tension, causing the water to spill.

As raindrops fall from the sky they begin their journey as a sphere shape. As they fall to the ground, the force of gravity pulls them downwards. The force of air resistance pushes up against them, flattening the bottom of the raindrop.

Investigate

Repeat this activity on a penny coin. Which side holds the most drops of water, heads or tails?

Careers associated with this activity