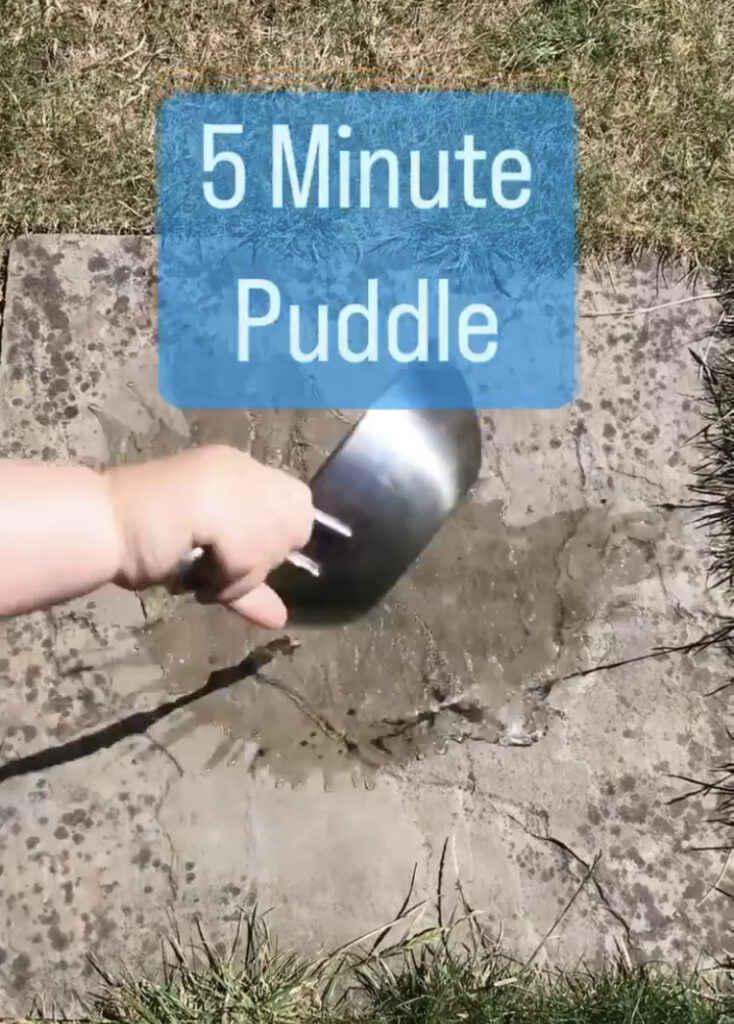
Sign up for free

5 Minute Puddle

5 Minute Puddle

You will need

  • Chalk
  • A bowl of water
  • A timer

How to do it

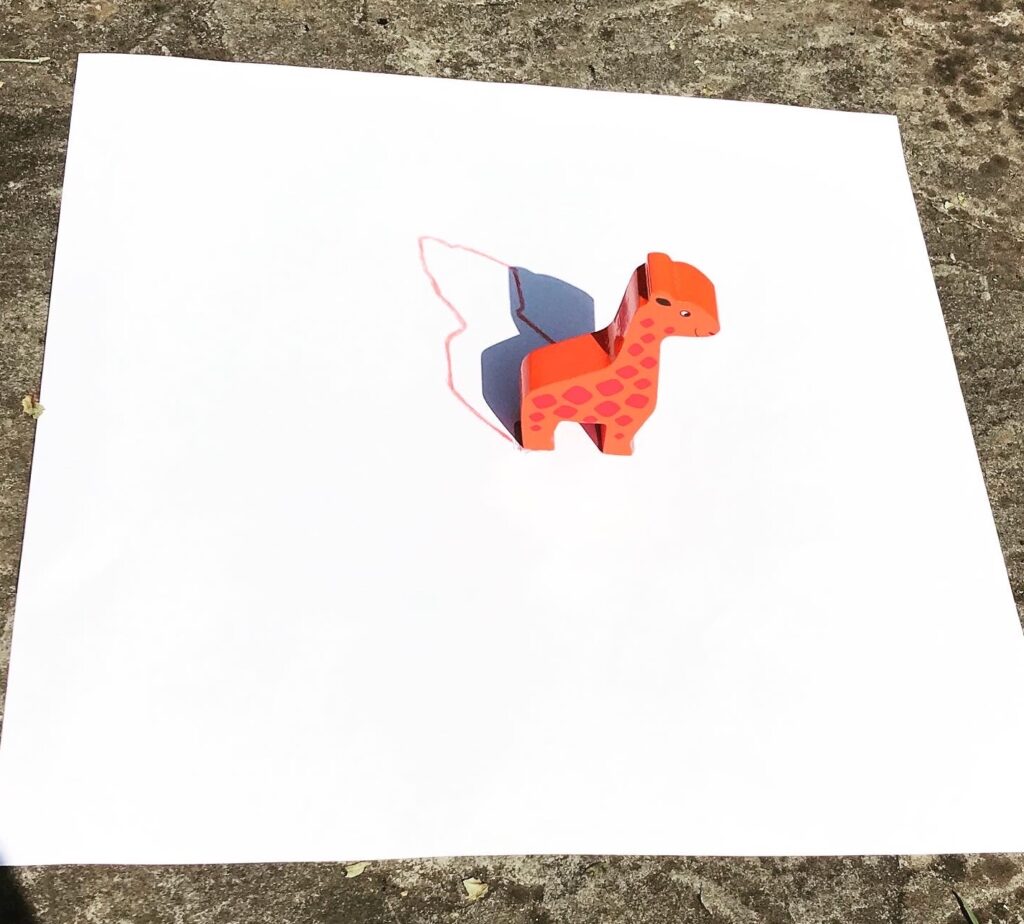
  1. Create a puddle on a sunny outdoor surface by gently spilling water on it.
  2. Draw around the perimeter (outside) of the puddle using chalk.
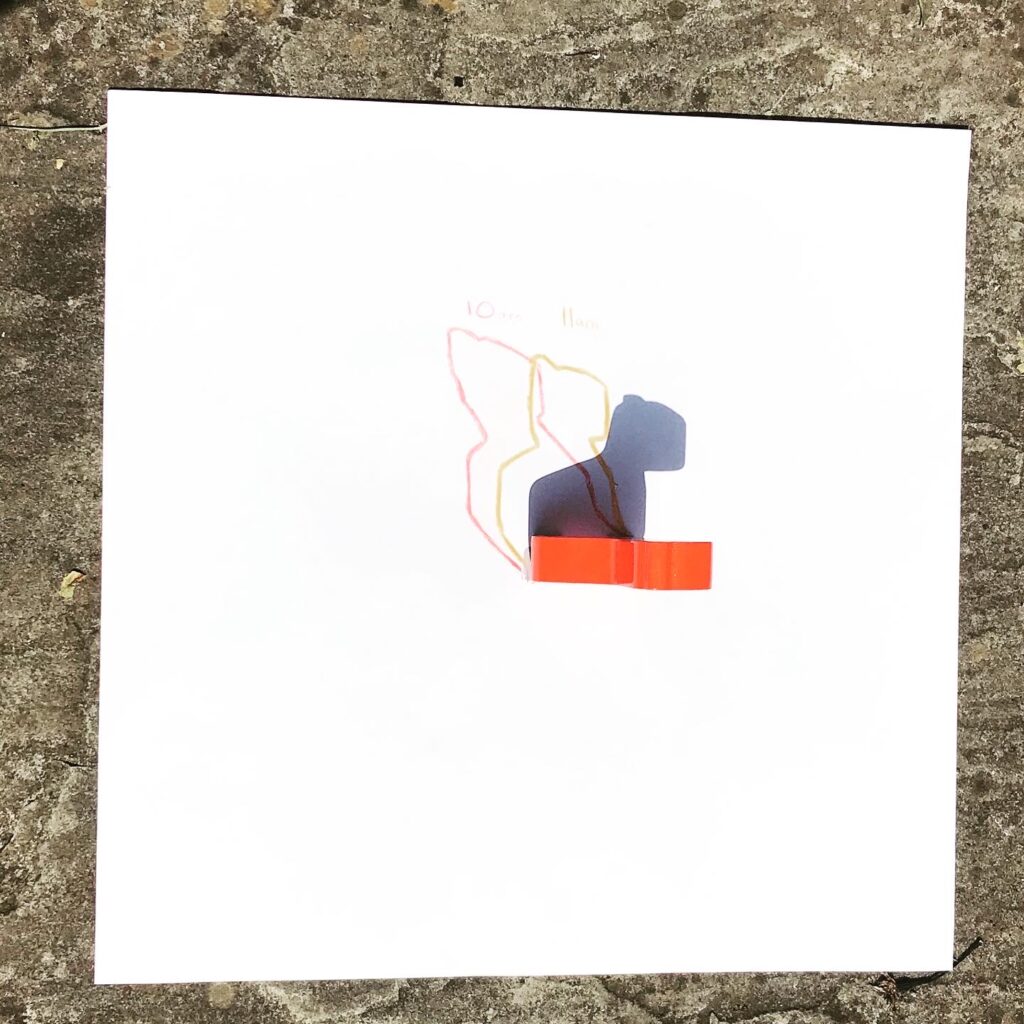
  3. Start the timer and watch!
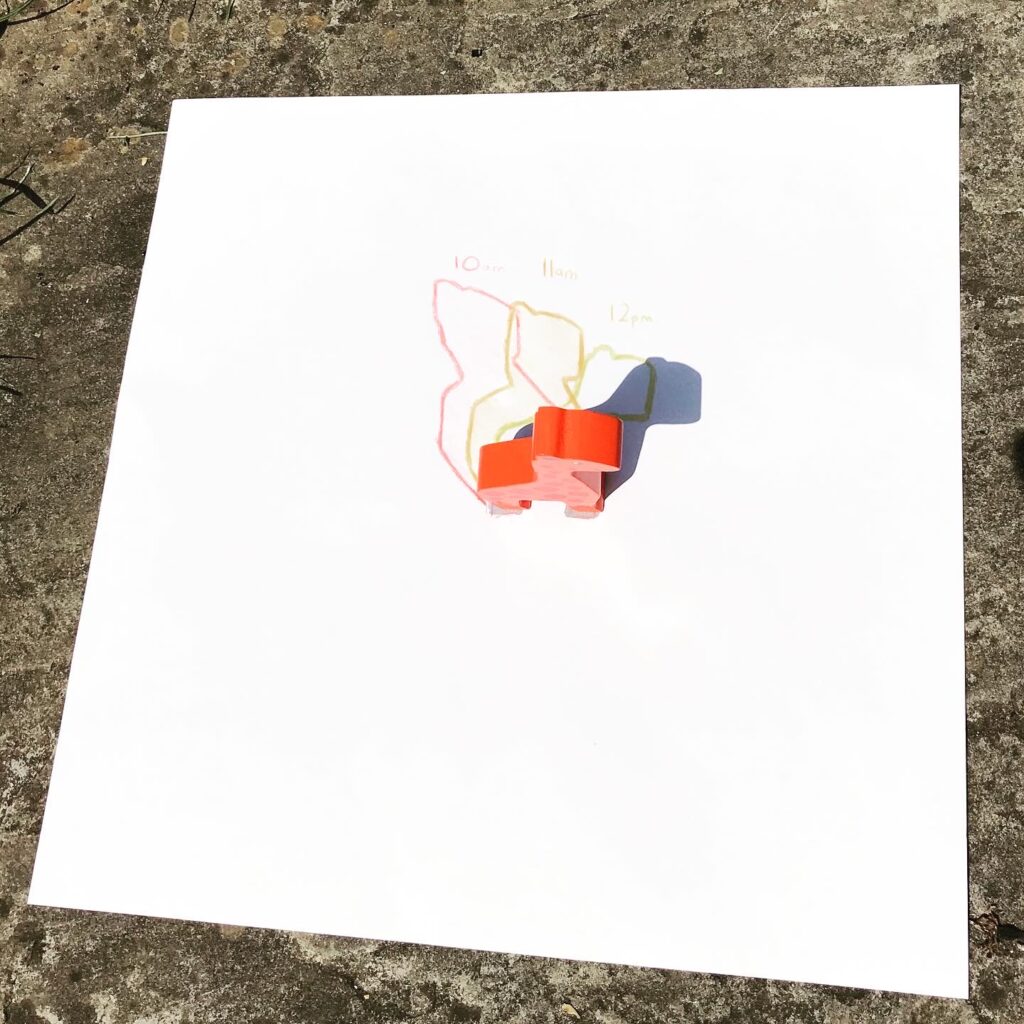
  4. Stop the timer after 5 minutes. How much of your puddle is left?

What are we learning

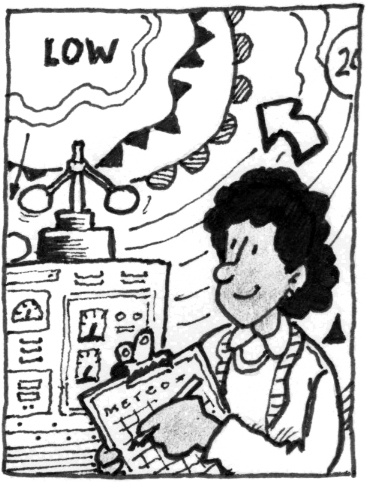
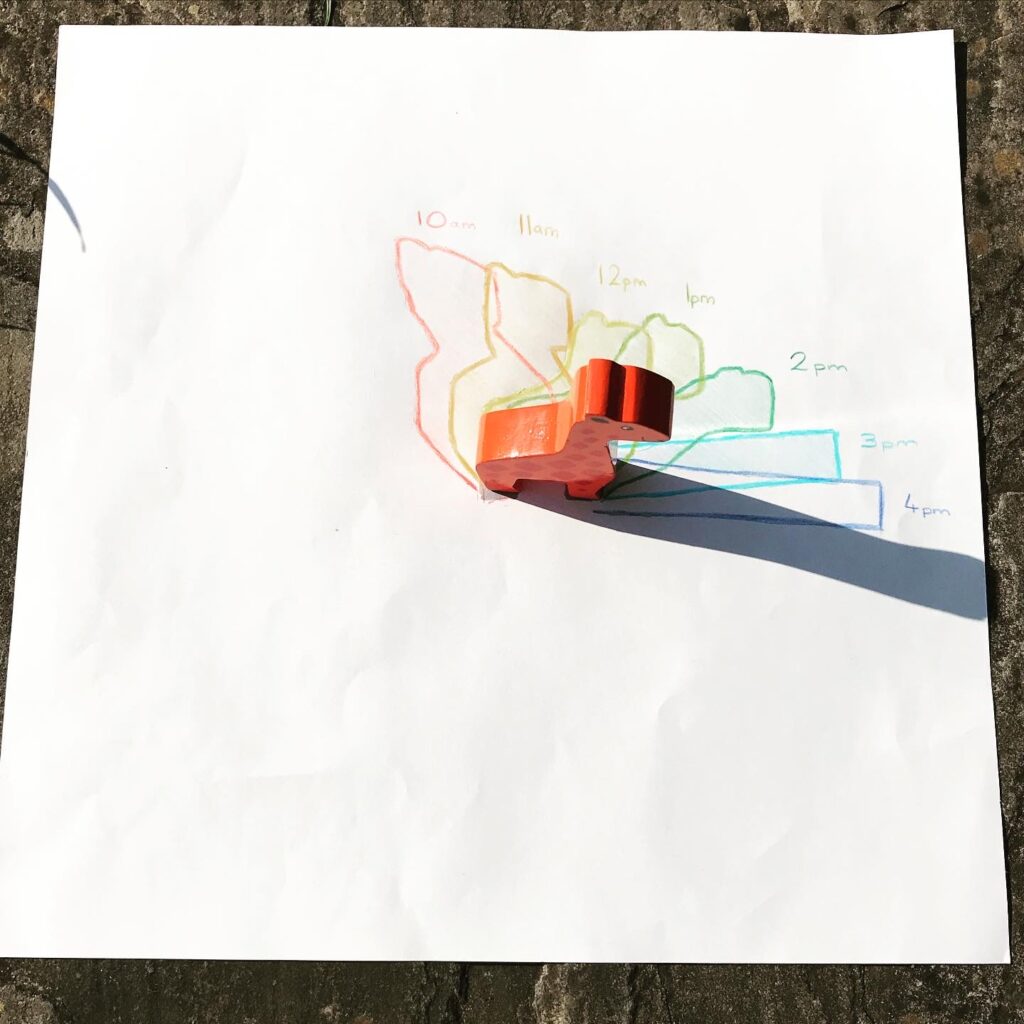
Evaporation is a process that occurs when a liquid changes into a gas. On a warm, sunny day, air molecules move quickly with energy from sunlight, and water molecules in the puddle are warmed by the sun’s heat. When energetic air molecules collide with water molecules on the puddle’s surface, some water molecules receive enough energy to break free from the puddle, becoming water vapour. This reduces the amount of water in the puddle, so it shrinks. You will notice that a puddle with the smallest surface area takes the longest to evaporate. This is because there is less surface area exposed to the air.

Investigate

Create two puddles, one smaller and one bigger, and time them. Which puddle evaporated the fastest, the one with the bigger or smaller perimeter?

Careers associated with this activity

Natural Colours

Natural Colours

You will need

  • Paint charts
  • An outdoor space
  • A camera/ipad (optional)

How to do it

Simply grab a paint chart and see how many colours you an match up with natural objects!

Are there any colours that you struggle to find in the natural environment? Why do you think this is?

What are we learning

This activity encourages children to really look at the natural environment around them and the colours within it. It introduces them to the important role that botanists and naturalists play in studying the plants and flowers around us. You could use it as an opportunity to talk about scientific concepts such as how the process of photosynthesis affects the colours of leaves.

Investigate

Repeat this activity in a different season. How has the range of colours that you have found changed? Why do you think this is?

Careers associated with this activity

Daffodil Dissection

Daffodil Dissection

You will need

  • A daffodil
  • Scissors
  • Tweezers (optional)
  • Magnifying glass (optional)

How to do it

  1. Take a daffodil and carefully begin the dissection. Start with the outer parts of the daffodil: sepal, petals etc.
  2. Use a pair of scissors to cut the corona. You may also want to use tweezers to assist with the dissection.
  3. Continue to dissect the remaining parts of the daffodil, laying them out on a flat surface.
  4. Use a magnifying glass to take a closer look at each part of the daffodil.

What are we learning

A flower dissection is a great way to get children to really engage with the parts of a flower. Flowers like daffodils and lilies work particularly well for this activity. Children will enjoy discovering and labelling all the different parts of the flower and researching their purposes.

Investigate

Go on a nature walk and look at other types of flowers. What flower parts do they have in common? What are the differences?

Careers associated with this activity

Drain Disaster

Drain Disaster

You will need

  • A shoebox
  • Scissors
  • Blue fabric/paper
  • String
  • Lolly sticks
  • Keys, card, coins, receipt etc
  • A magnet
  • Paperclips
  • Chopsticks

How to do it

  1. Turn a shoebox into a drain by cutting slits in the lid.
  2. Add blue fabric or paper for ‘water’.
  3. Drop in items to rescue (keys, credit card, coins, receipt etc).
  4. Time to get rescuing! You could use paperclips, magnets or chopsticks. Or try out other ways to rescue each item.

What are we learning

 This activity helps to develop soft skills such as creative thinking, communication and problem solving. Encourage children to think for themselves about how they will use the equipment to rescue each item. There is likely to be an element of trial and error. Discuss with your child the benefit of making these mistakes. They are an important part of the learning process and help us to improve!

Investigate

Find out more about the job of a water engineer.

Careers associated with this activity

Ice Fishing

Ice Fishing

You will need

  • ice cubes
  • A bowl of cold water
  • Food colouring
  • String
  • Salt

How to do it

  1. Fill a bowl with cold water.
  2. Add a drop of food colouring to the water to create a colour contrast. Mix well.
  3. Drop in the ice cubes.
  4. Position your ‘fishing rod’ (string) across the ice.
  5. Sprinkle salt on the areas where the string and ice meet. Then leave for one minute.
  6. Lift up the string to see how much ice your fishing rod has caught!

What are we learning

Salt lowers the freezing point of water, helping to dissolve it faster. As it melts, the string sinks into the ice cube. The water dilutes the salt/water mixture, causing the ice on the top to refreeze, trapping the string. 

Investigate

Find out about how salt is used on icy roads to keep them safe in the winter.

Careers associated with this activity

Flower Chemistry

Flower Chemistry

You will need

  • A flower
  • A pestle and mortar
  • A jug of water and a teaspoon
  • Vinegar
  • Bicarbonate of Soda
  • A paint/baking tray

How to do it

  1. Drop two petals into a pestle and mortar.
  2. Add two teaspoons of water and mix until the water changes colour.
  3. Use a syringe to collect up the mixture. Then add it into three different tray wells.
  4. Add a teaspoon full of vinegar to the first tray well and mix. This is your acid indicator.
  5. Add a teaspoon of bicarbonate of soda mixed with water to the second tray well and mix. This is your base indicator.
  6. Compare the colours in each tray well. What is different about them? Why do you think this is?

What are we learning

A rose is an example of an acid-base indicator. Other flowers that you could use include tulips and pansies. When we add an acid it turns the petal mixture an orange or pink colour. When we add the base it turns the petal mixture a blue or purple colour.

Investigate

Now try this with a range of other flowers. Which ones are acid-base indicators? You could also try this activity with fruit and vegetables.

Careers associated with this activity

Moving Shadows

Moving Shadows

How do shadows change during the day?

  • A small toy
  • Paper
  • Coloured pencils
  • A clock

How to do it

Note: You will need to do this activity on a sunny day. You will need to return to it throughout the day.

  1. Begin the activity at the start of the morning. Find an open space in full sunlight and lay a piece of paper on the ground. Then place the toy in the middle of the piece of paper so that it stands up vertically.
  2. Take note of where the shadow of the toy falls by drawing around its outline using a coloured pencil. Label the outline with the time that you have drawn the shadow.
  3. Return each hour to check the position that the shadow from the toy has been cast in, drawing around it and labelling the drawing with the time. You could use a different coloured pencil for each shadow outline to help them stand out clearly.

What are we learning

Light travels in a straight line. When we place an object in its path, in this case a small toy, it blocks some of the light, creating a shadow. As the earth rotates, the position of the sun in the sky changes, which changes the length and position of shadows. In the morning the sun rises in the east, and the shadow is longer and cast west. By midday the sun is directly overhead, making the shadow short. In the afternoon the sun is setting in the west and the shadow grows longer again and cast east.

Investigate

A sundial is a device that uses the sun to tell the time. Find out more about how they have been used by many civilizations in history.

Careers associated with this activity

Measure Scavenger Hunt

 Measure Scavenger Hunt

What different sizes can we find in the natural environment? 

  • A measuring tape or ruler
  • Scavenger hunt list (see example in photo)
  • A pencil or pen
  • A timer
  • A camera (optional))

How to do it

Note: you will need to prepare the scavenger hunt list in advance. Younger children could measure items in cm’s while older children could have a mixture of cm’s and mm’s.

  1. Take a copy of the measure scavenger hunt list and decide on an outdoor area that your hunt will take place in (for example, a garden, park or woodland).
  2. You have 15 minutes to find and photograph an example of each item on the list. You will need to use the measuring tape carefully to make sure you have found an accurate example of each item on the list.
  3. When the time is up, review the findings and count how many items you photographed.

Optional: Make this into a competitive team challenge and see who can find the most items. Alternatively, try going to a different natural environment to see if you can beat your score.

What are we learning

Measuring tapes help us to accurately measure the length and width of different objects. We have been using the metric system, in which length is measured in millimetres (mm), centimetres (cm), metres (m) or kilometres (km). There are ten millimetres in each centimetre. The natural world is full of many different sizes and shapes. Leaves from the same tree or plant can vary in appearance and size. However, they will always roughly correspond to the same basic shape.

Investigate

Choose your favourite leaf or flower from the scavenger hunt and find out what species it is. You could use a nature book to identify it or use an app such as ‘PlantSnap’.

Careers associated with this activity

Tin Foil Cargo Boats

Tin Foil Cargo Boats

Create a boat using tin foil and explore which design can hold the most cargo (coins). Then find out about the forces involved including Archimedes’ principle.

This activity is taken from the book ’15-Minute STEM’.

Frozen Fireworks

Frozen Fireworks

What happens when we mix fluids of different densities? 

You will need

  • A clear glass or jar
  • Warm water
  • Vegetable oil
  • Food colouring
  • An ice cube tray
  • A pipette (optional)
  • Honey and milk (optional)

How to do it

Note: you will need to prepare the ice cubes in advance of the activity.

  1. Fill up an ice cube tray with water. Add a few drops of food colouring to each ice cube mould, either by squeezing them from the bottle or using a pipette. Then place the tray in the freezer for a few hours.
  2. Once the ice cubes are frozen, part-fill your jar with warm water, leaving space at the top.
  3. Then add a 2cm layer of vegetable oil. You will notice that the oil floats on top of the water.
  4. Place the ice cubes into the jar and watch them float in the oil layer.
  5. Watch as the ice melts and the coloured droplets sink down into the water and mix together, creating fireworks!

What are we learning

Density is the mass of an object divided by its volume. Put another way, it is the amount of ‘stuff’ that can fit in a given space. Some materials are very light for their size while others are very heavy. For example, a brick and a sponge might be a similar size but the sponge would be a lot lighter. This is because it is less dense. Oil is less dense than water so it floats to the top of the jar. The ice cubes are also less dense than the water, which is why they float in the oil layer. As the ice melts and turns into liquid, it becomes denser than the oil. This causes the food colouring droplets to sink into the water and diffuse (spread out), creating what looks like fireworks.

Investigate

Now try adding other fluids to your jar, such as honey or milk. How do their densities compare to water and vegetable oil?

Careers associated with this activity