Sign up for free

5 Minute Puddle

5 Minute Puddle

You will need

  • Chalk
  • A bowl of water
  • A timer

How to do it

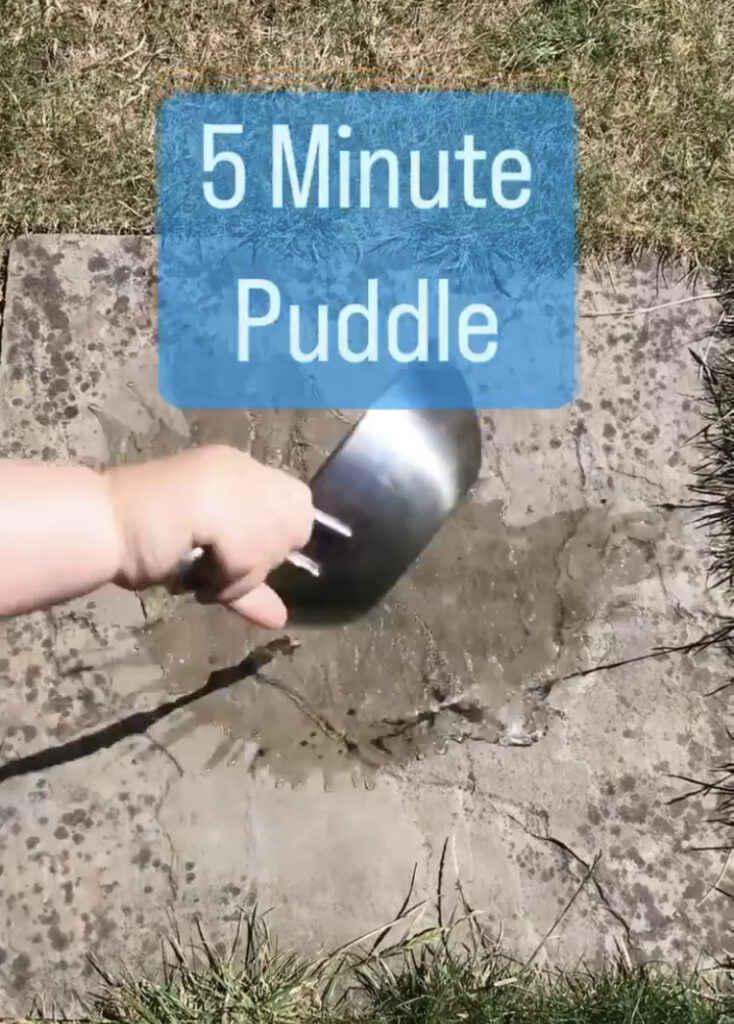
  1. Create a puddle on a sunny outdoor surface by gently spilling water on it.
  2. Draw around the perimeter (outside) of the puddle using chalk.
  3. Start the timer and watch!
  4. Stop the timer after 5 minutes. How much of your puddle is left?

What are we learning

Evaporation is a process that occurs when a liquid changes into a gas. On a warm, sunny day, air molecules move quickly with energy from sunlight, and water molecules in the puddle are warmed by the sun’s heat. When energetic air molecules collide with water molecules on the puddle’s surface, some water molecules receive enough energy to break free from the puddle, becoming water vapour. This reduces the amount of water in the puddle, so it shrinks. You will notice that a puddle with the smallest surface area takes the longest to evaporate. This is because there is less surface area exposed to the air.

Investigate

Create two puddles, one smaller and one bigger, and time them. Which puddle evaporated the fastest, the one with the bigger or smaller perimeter?

Careers associated with this activity

Natural Colours

Natural Colours

You will need

  • Paint charts
  • An outdoor space
  • A camera/ipad (optional)

How to do it

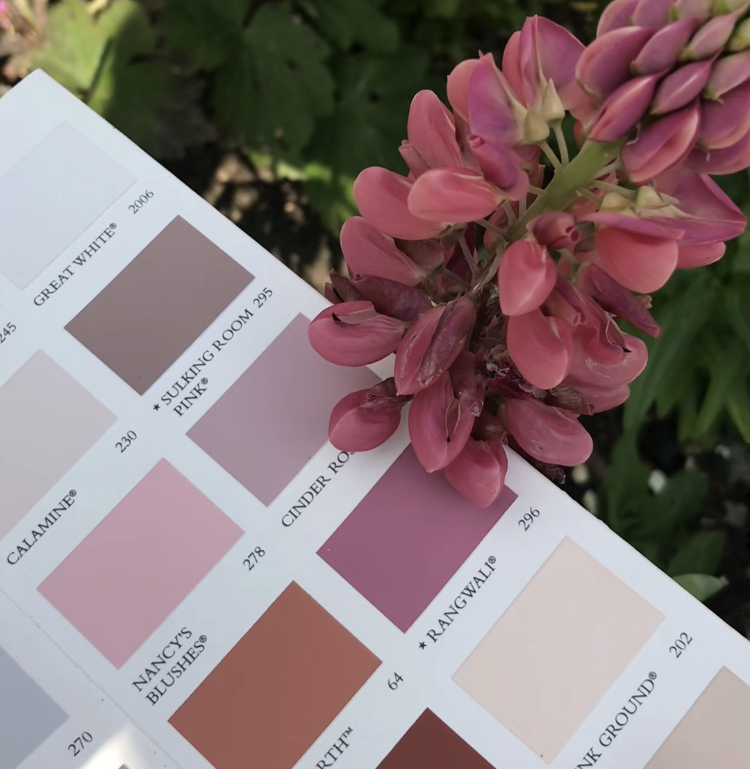
Simply grab a paint chart and see how many colours you an match up with natural objects!

Are there any colours that you struggle to find in the natural environment? Why do you think this is?

What are we learning

This activity encourages children to really look at the natural environment around them and the colours within it. It introduces them to the important role that botanists and naturalists play in studying the plants and flowers around us. You could use it as an opportunity to talk about scientific concepts such as how the process of photosynthesis affects the colours of leaves.

Investigate

Repeat this activity in a different season. How has the range of colours that you have found changed? Why do you think this is?

Careers associated with this activity

Daffodil Dissection

Daffodil Dissection

You will need

  • A daffodil
  • Scissors
  • Tweezers (optional)
  • Magnifying glass (optional)

How to do it

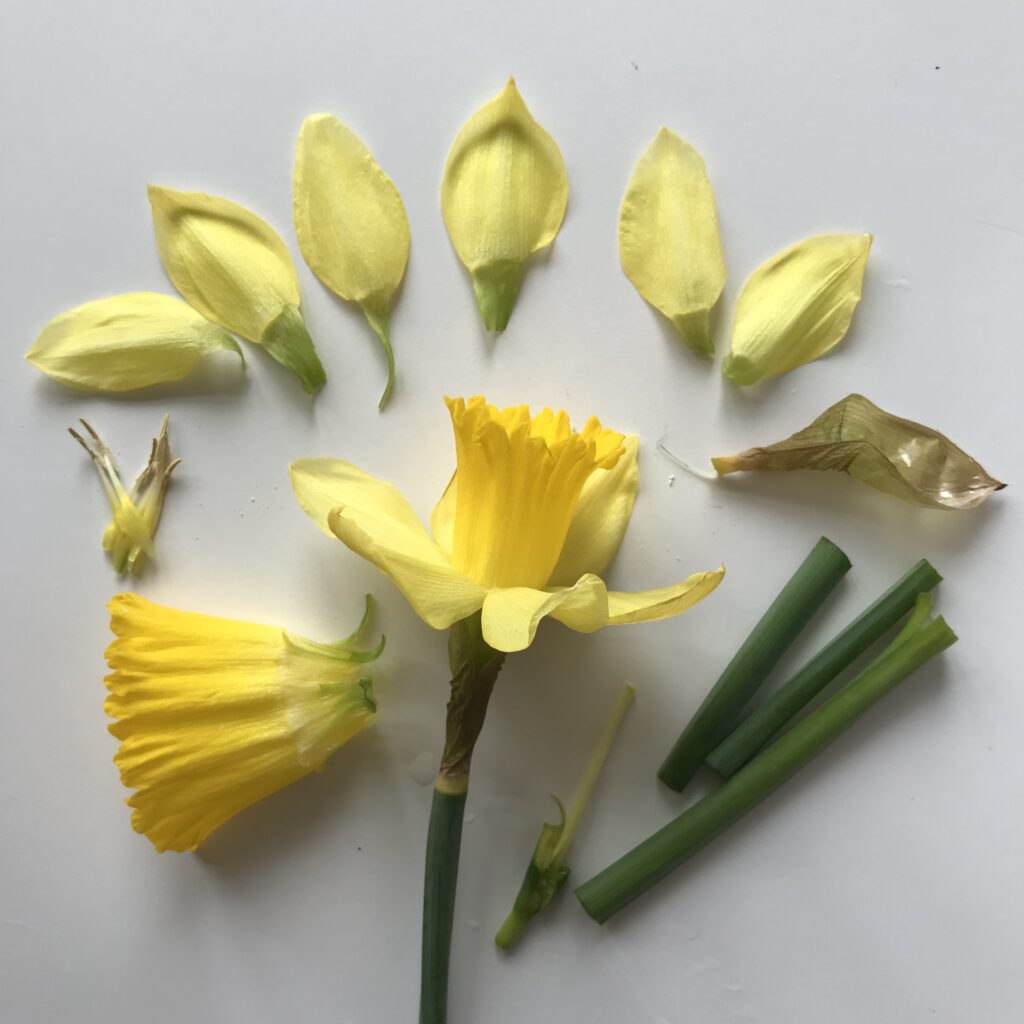
  1. Take a daffodil and carefully begin the dissection. Start with the outer parts of the daffodil: sepal, petals etc.
  2. Use a pair of scissors to cut the corona. You may also want to use tweezers to assist with the dissection.
  3. Continue to dissect the remaining parts of the daffodil, laying them out on a flat surface.
  4. Use a magnifying glass to take a closer look at each part of the daffodil.

What are we learning

A flower dissection is a great way to get children to really engage with the parts of a flower. Flowers like daffodils and lilies work particularly well for this activity. Children will enjoy discovering and labelling all the different parts of the flower and researching their purposes.

Investigate

Go on a nature walk and look at other types of flowers. What flower parts do they have in common? What are the differences?

Careers associated with this activity