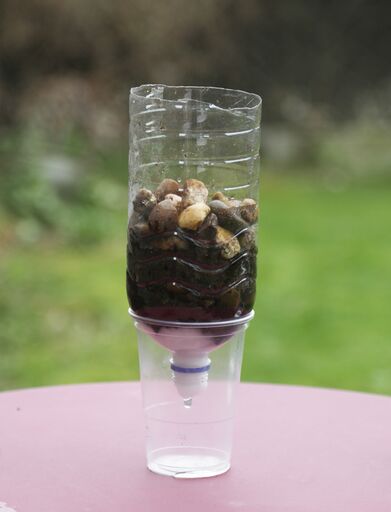
Water Filter Challenge
Create a water filter using natural materials and learn more about the challenges of providing clean water to people around the world.
This activity is taken from the book ’15-Minute STEM’.
Create a water filter using natural materials and learn more about the challenges of providing clean water to people around the world.
This activity is taken from the book ’15-Minute STEM’.
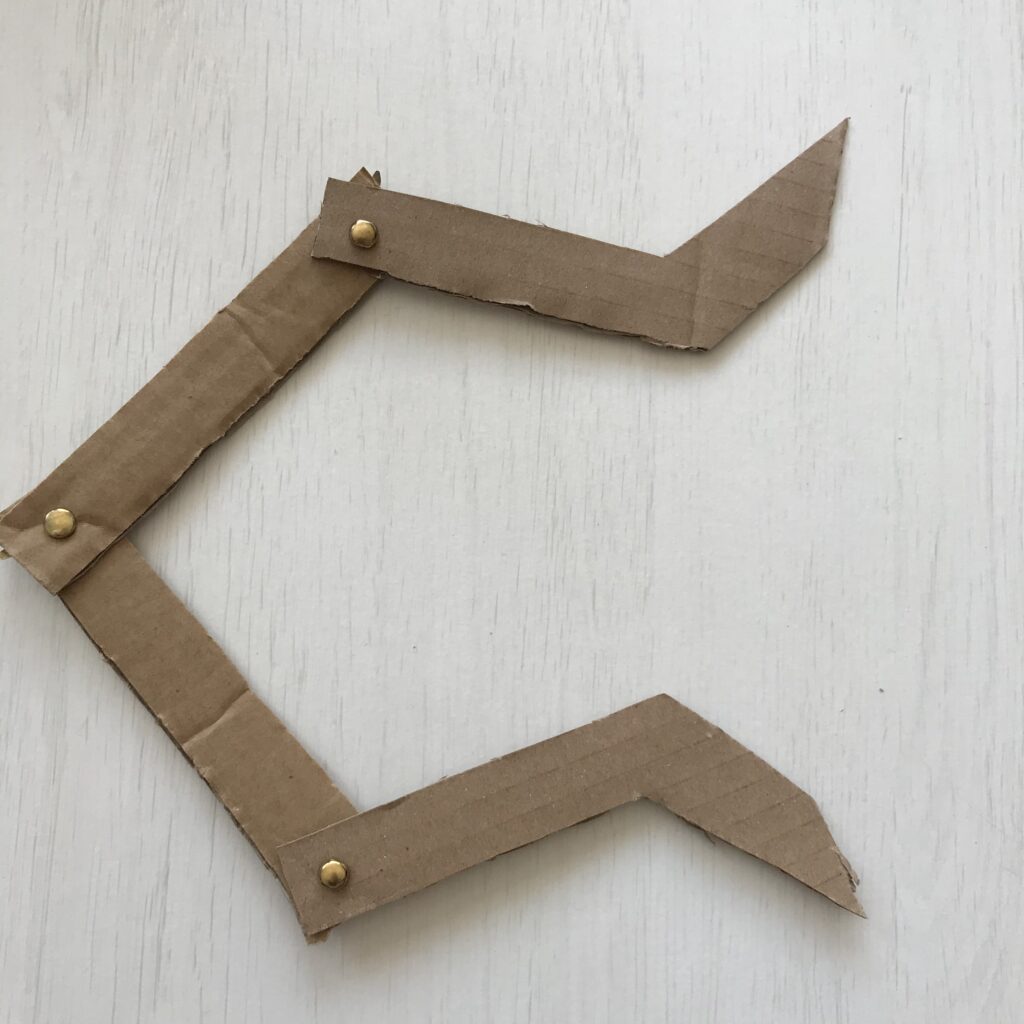
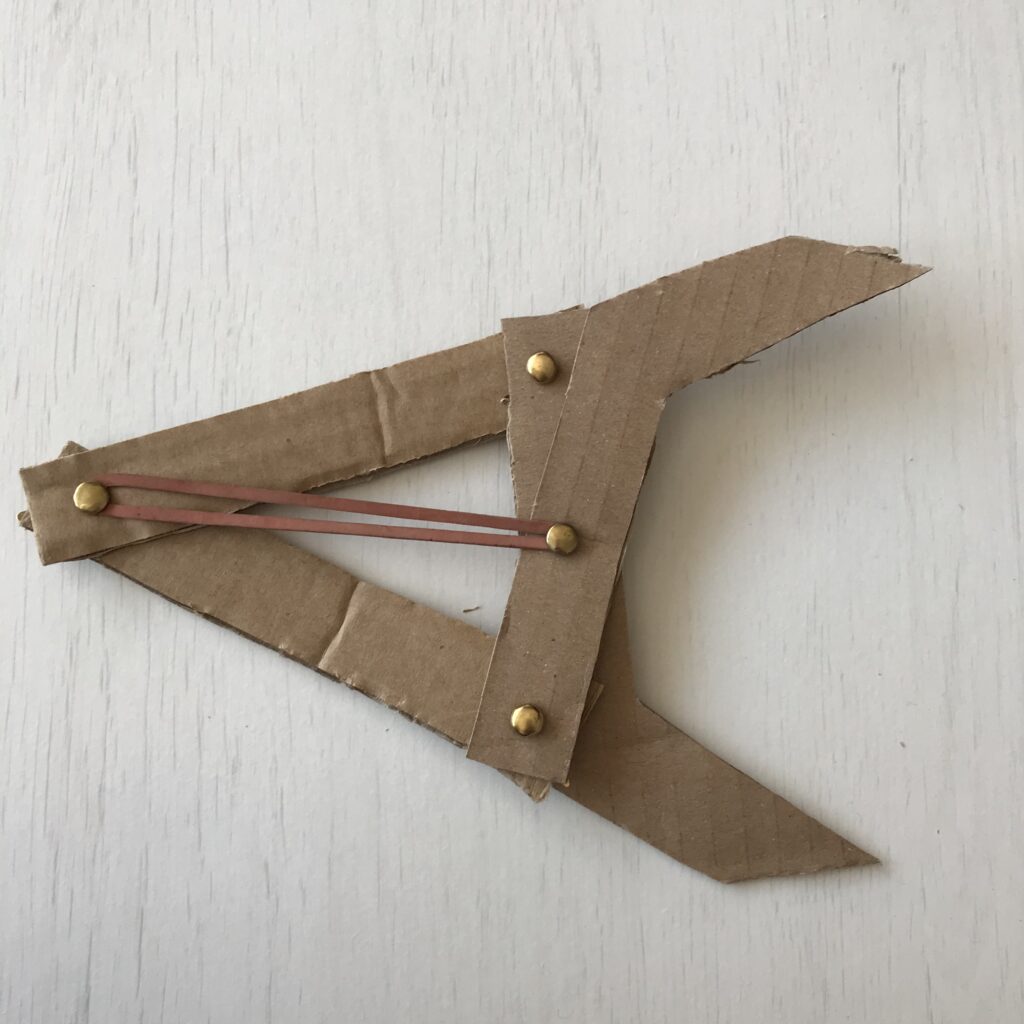
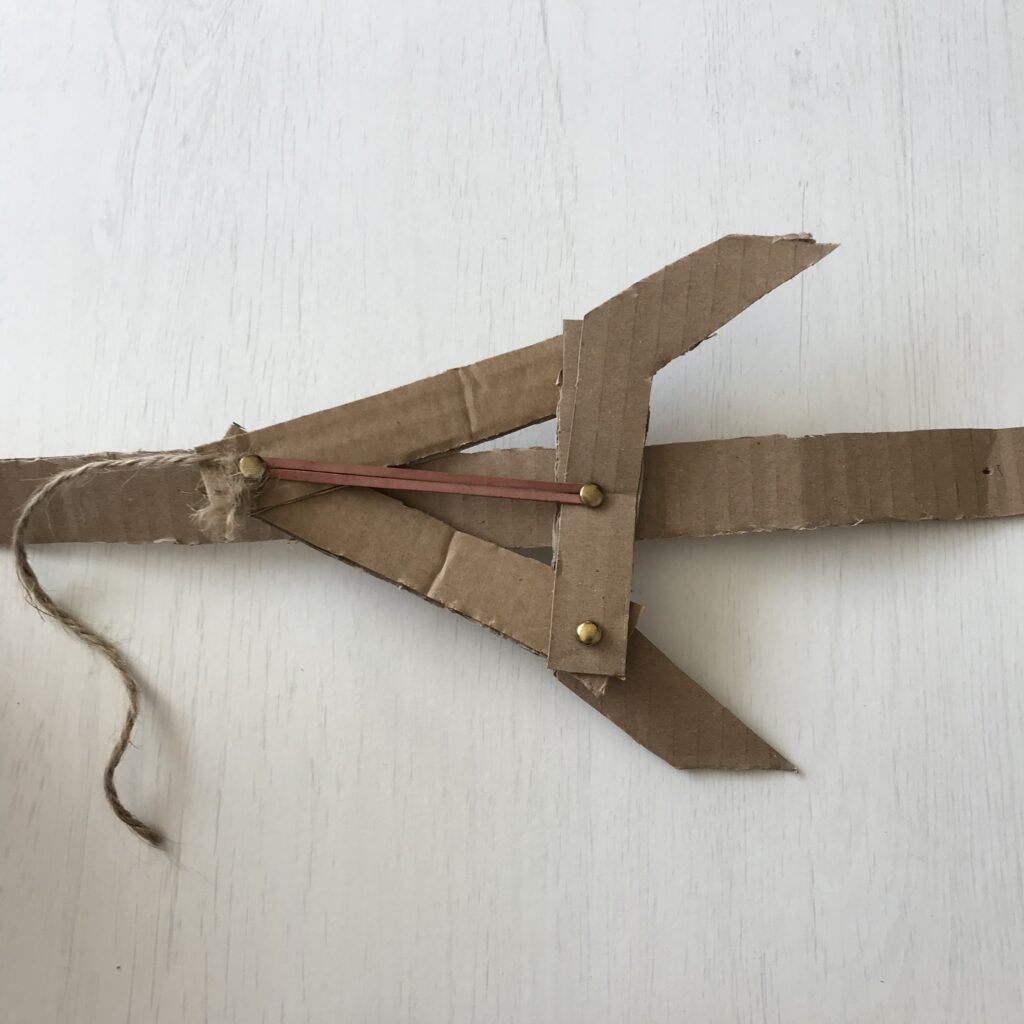
Robotic Arm
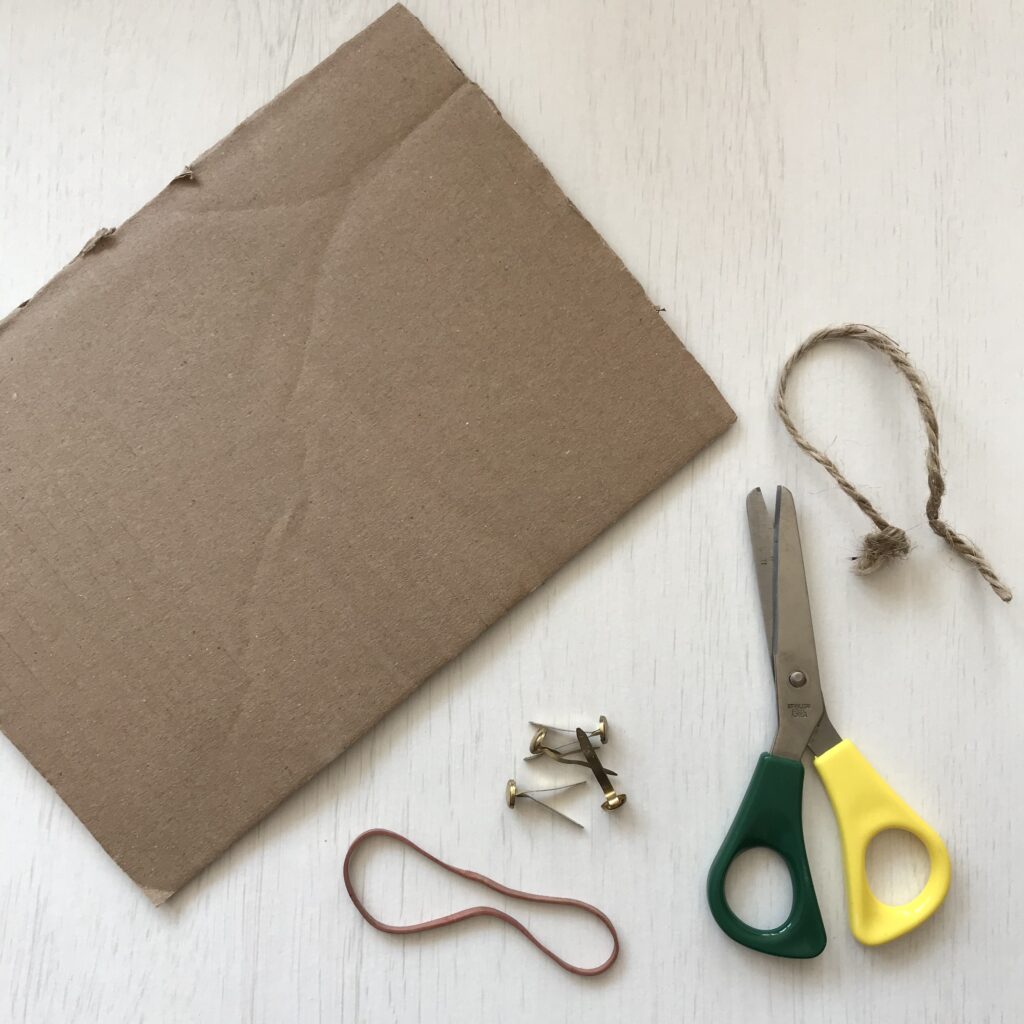
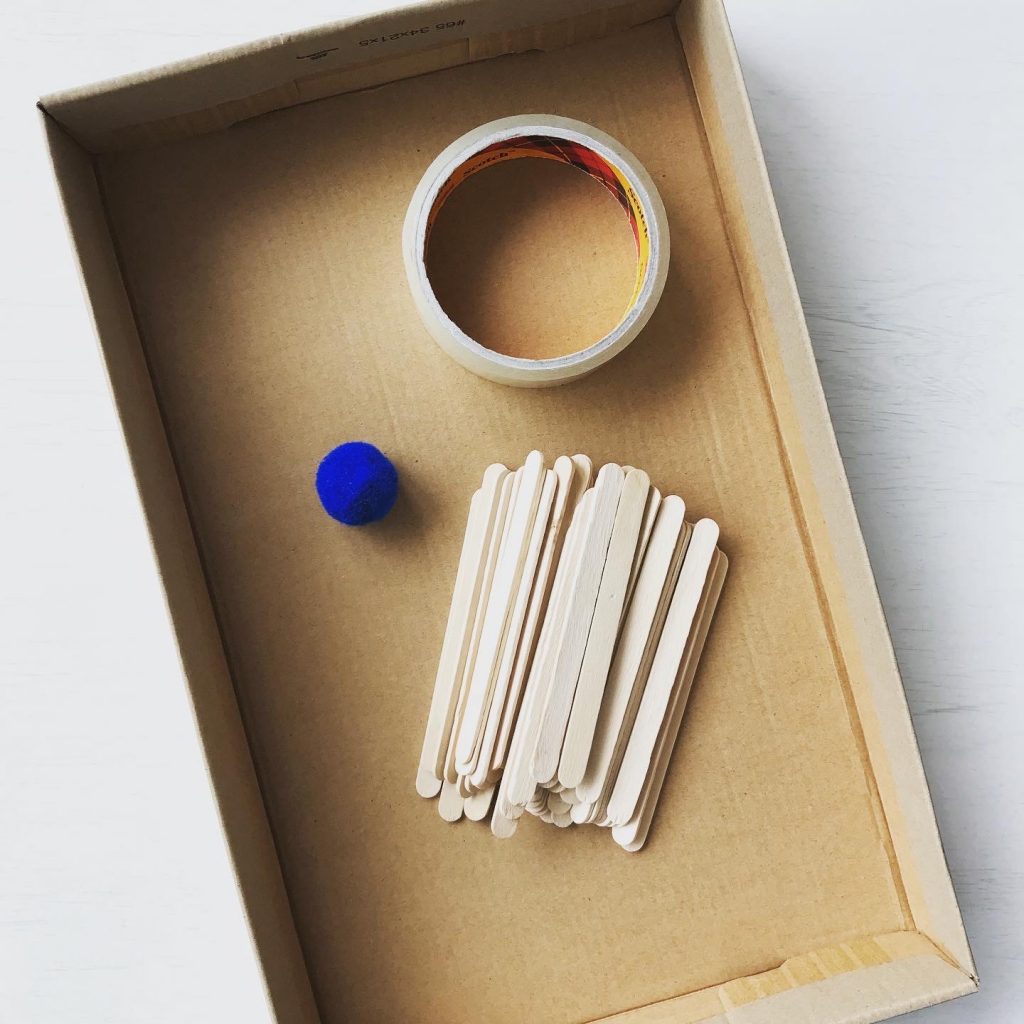
You will need
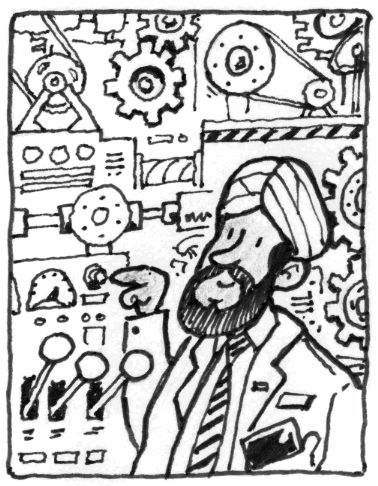
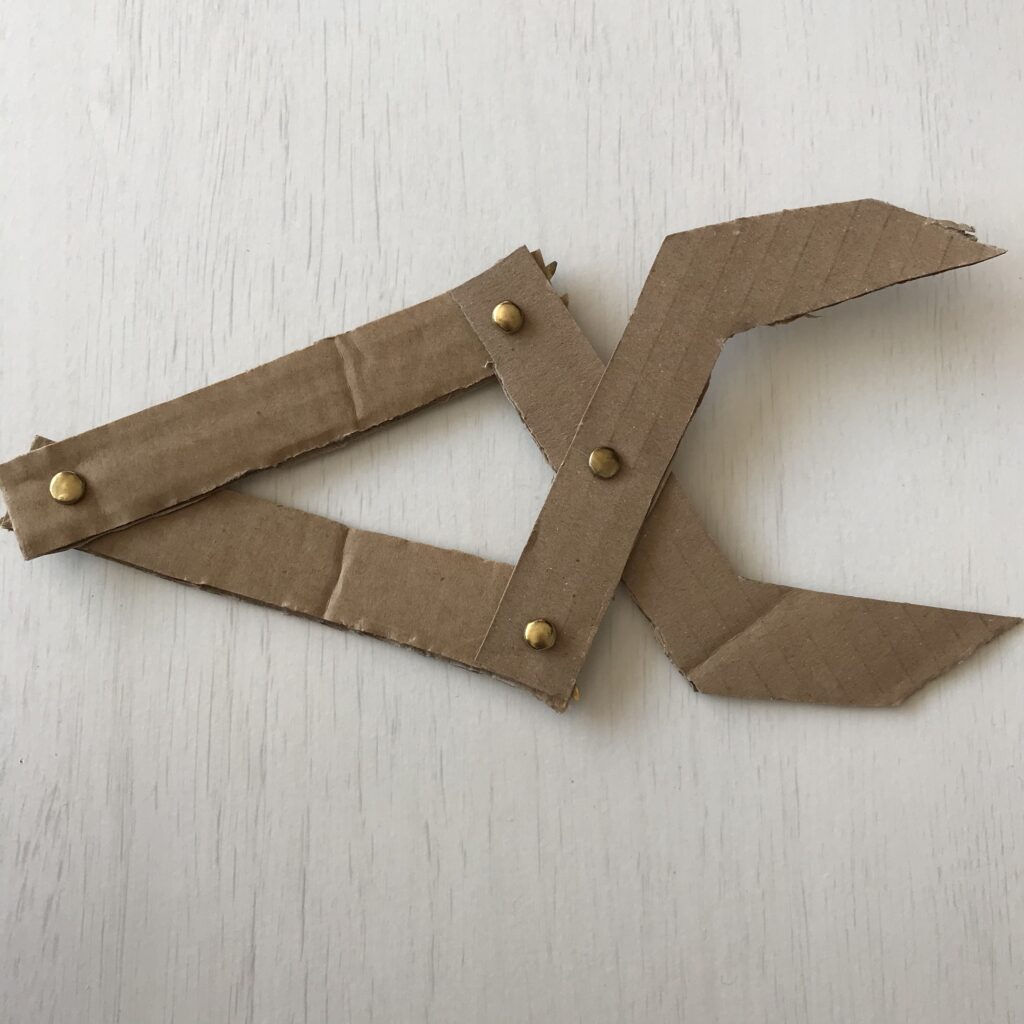
Robotic arms are a classic use of robotic technology, and can be found on factory production lines, controlled by computers. They have a variety of uses. They can do jobs that are very repetitive for humans such as screwing the lids on jars on a production line in a factory. They can do jobs that are difficult for humans such as putting small parts (such as bolts) onto a car in precisely the right place. They can also do jobs that are dangerous for humans such as moving hazardous materials. Sometimes robotic arms are found on a much larger robot, other times they are a standalone arm. Increasingly, roboticists consider using innovative soft materials (‘soft robotics’) for grippers at the end of the arms. Such ‘smart’ materials include shape-memory polymers (SMPs) that can temporarily deform and then return to their original shape.
The Curiosity Rover on the planet Mars uses a robotic arm. Find out more about this.
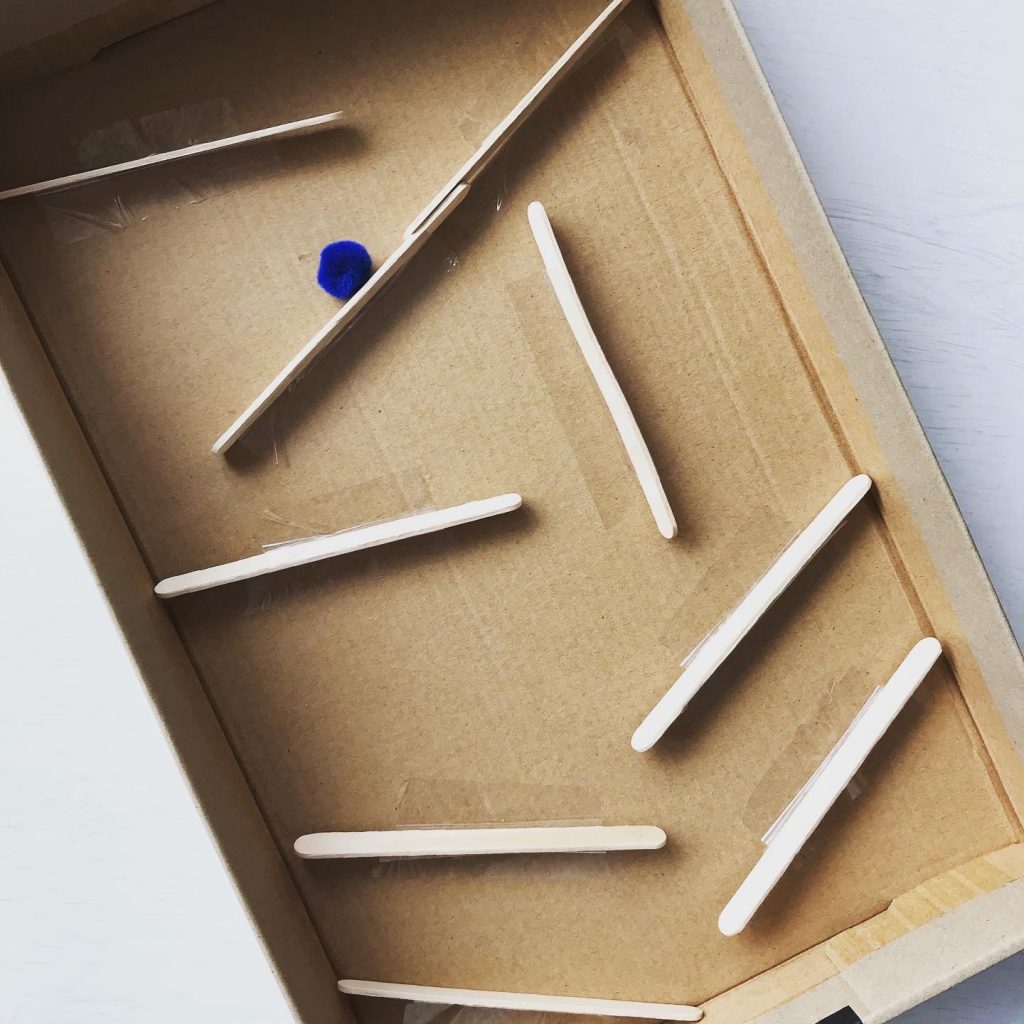
Tilting Marble Maze
You will need
Fill the pipette or syringe with water. Then carefully add drops of water to the raindrop outline. How many drops of water can the raindrop hold before the water spills over the edge?
Repeat the activity on a raindrop of a different size or shape.
Before the marble travels down the maze, it has potential energy from being lifted up to a height. As it rolls along the angled ramps this converts into kinetic (movement) energy. Gravity is the force pulling the marble to the ground.
It would take it straight down if not for the angled runways, which instead guide the marble down and sideways. As the marble rubs against the cardboard it also creates an opposing force called friction. This slows down the marble. Angles are critical to the marble run’s success. The greater the angle, the quicker the marble will roll.
Now create a marble maze by positioning the maze walls using only vertical and horizontal lines instead of tilting downwards. Is it easier or harder to navigate a maze like this?
Make yourself an egg parachute and discover the science behind it.
This activity is taken from the book ’15-Minute STEM’.