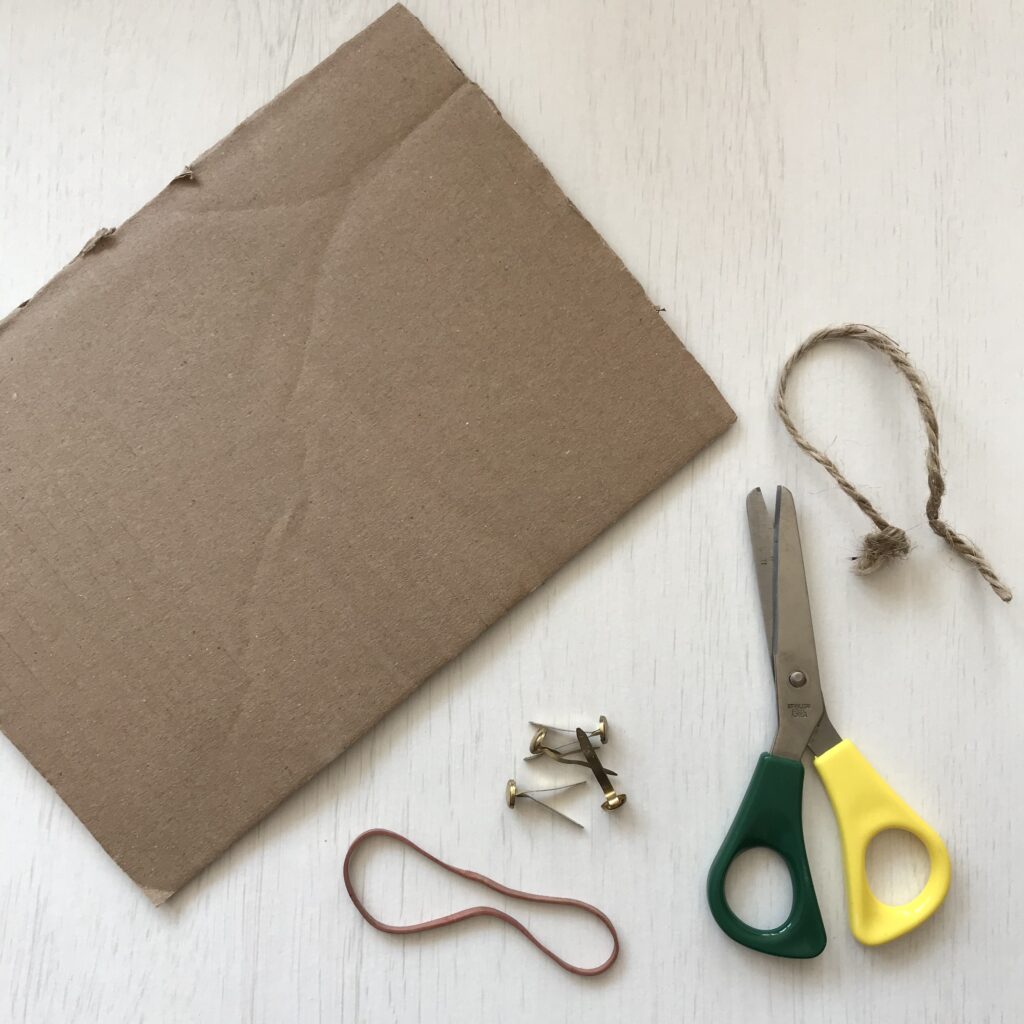
Sign up for free

Water Xylophones

Water Xylophones

You will need

  • Glass bottles
  • Water
  • A stick
  • A measuring jug (optional)

How to do it

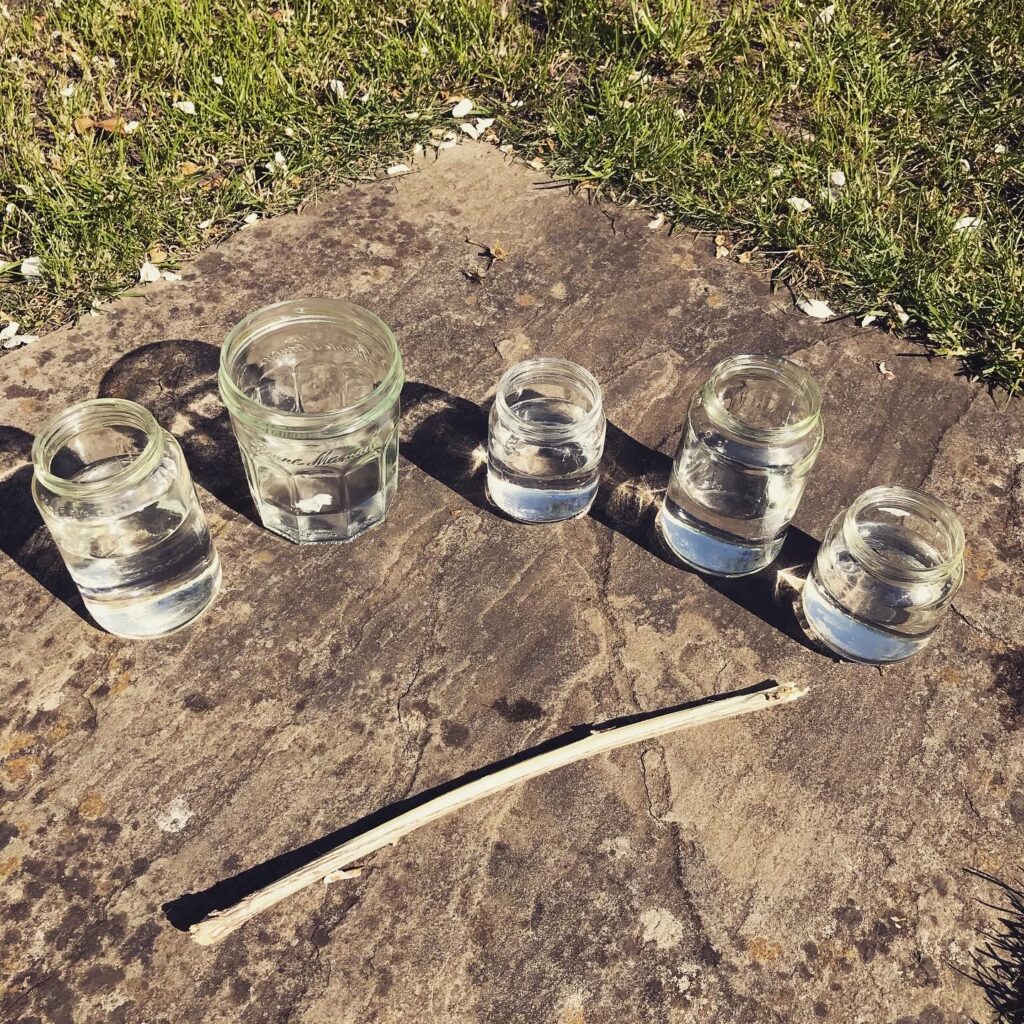
  1. The challenge is to play a tune on a water xylophone, created from glass bottles.
  2. To produce a different pitch (sound frequency), each glass bottle should be filled with a different amount of water.
  3. Measure out the water and experiment with making different sounds by gently tapping the side of each bottle using a stick.
  4. Order the bottles from lowest to highest pitched. Then perform a tune on your musical instrument. What do you notice about the pitch of the sound and the volume of water in each bottle?

What are we learning

Musical instruments create sound waves, which are temporary compressions in the air. These sounds are made when objects vibrate. When we tap each xylophone bottle we cause the glass to vibrate. These disturbances travel through space and ultimately make your eardrum vibrate, to be heard as sounds. This vibration produces a higher pitched sound when there is less water in the bottle. They produce a lower pitched sound when there is more water in the bottle. If you have used an assortment of different sized or shaped bottles then you may have noticed that you can fill two bottles with the same amount of water and still create different sounds. This is because the sound is vibrating within a different space.

Investigate

Ancient mathematicians like Pythagoras investigated the mathematics of musical scales. Can you find out more about this?

Careers associated with this activity

Water Filter Challenge

Water Filter Challenge

Create a water filter using natural materials and learn more about the challenges of providing clean water to people around the world.

This activity is taken from the book ’15-Minute STEM’.

Water Filter

Robotic Arm

Robotic Arm

You will need

  • Thick cardboard
  • Split pins
  • A sharp pencil
  • A ruler and scissors
  • An elastic band
  • String

How to do it

  1. Cut out two identical rectangular strips of 10cm length out of cardboard. Then cut out two identical cardboard ‘grabber’ arms.
  2. Use a sharp pencil to pierce a small hole in either end of each cardboard strip.
  3. Attach the two rectangular strips together at one end using a split pin. Join the opposite ends to the grabber arms, positioning the grabber hands pointing outwards.
  4. Pull the two grabber arms together so they overlap and join them together with a split pin. Your grabber hands should now be pointing inwards towards each other.
  5. Cut a longer strip of cardboard to act as a handle. Pierce a hole in one end and attach it to the split pin used to overlap the grabber arms.
  6. Attach an elastic band between the two spilt pins at either end of the arm.
  7. Tie a short piece of string to the bottom of the elastic band. Hold the handle and gently pull the string back and forth to open and close the arm. Can you pick up a small object with it?

What are we learning

Robotic arms are a classic use of robotic technology, and can be found on factory production lines, controlled by computers. They have a variety of uses. They can do jobs that are very repetitive for humans such as screwing the lids on jars on a production line in a factory. They can do jobs that are difficult for humans such as putting small parts (such as bolts) onto a car in precisely the right place. They can also do jobs that are dangerous for humans such as moving hazardous materials. Sometimes robotic arms are found on a much larger robot, other times they are a standalone arm. Increasingly, roboticists consider using innovative soft materials (‘soft robotics’) for grippers at the end of the arms. Such ‘smart’ materials include shape-memory polymers (SMPs) that can temporarily deform and then return to their original shape.

Investigate

The Curiosity Rover on the planet Mars uses a robotic arm. Find out more about this.

Careers associated with this activity

Tilting Marble Maze

MAIN IMAGE 2

Tilting Marble Maze

You will need

  • A shoebox lid
  • Lolly sticks or strips of thick cardboard
  • Sticky tape
  • Scissors
  • A marble

How to do it

Fill the pipette or syringe with water. Then carefully add drops of water to the raindrop outline. How many drops of water can the raindrop hold before the water spills over the edge?

Repeat the activity on a raindrop of a different size or shape.

  1. Position the shoebox lid in front of you so that the inner part of the box is facing upwards.
  2. Begin to arrange the lolly sticks or cardboard strips to create the marble maze ramps and bumpers. You could vary the length of them to add variety to your marble maze.
  3. Attach the first lolly sticks or cardboard strip using sticky tape. Position each so that it is tilting downwards slightly.
  4. Continue to attach the marble maze pieces down the length of the shoebox. Vary the angles of each to create different speeds of travel.
  5. Check how well the marble maze is working as you go and make any adjustments needed to help the marble travel downwards through the ramps.
  6. Test your marble maze by tilting the shoebox with your hands to navigate the marble around the maze. Does it work?

What are we learning

Before the marble travels down the maze, it has potential energy from being lifted up to a height. As it rolls along the angled ramps this converts into kinetic (movement) energy. Gravity is the force pulling the marble to the ground.

It would take it straight down if not for the angled runways, which instead guide the marble down and sideways. As the marble rubs against the cardboard it also creates an opposing force called friction. This slows down the marble. Angles are critical to the marble run’s success. The greater the angle, the quicker the marble will roll.

Investigate

Now create a marble maze by positioning the maze walls using only vertical and horizontal lines instead of tilting downwards. Is it easier or harder to navigate a maze like this?

Careers associated with this activity

Egg Parachutes

Egg Parachute

Make yourself an egg parachute and discover the science behind it.

This activity is taken from the book ’15-Minute STEM’.

Egg Parachutes
Egg Parachutes

Falling Raindrops

MAIN IMAGE

Falling Raindrops

What holds raindrops together?

  • A pipette or syringe
  • Water
  • A piece of A4 paper
  • A pen
  • A plastic wallet

How to do it

Fill the pipette or syringe with water. Then carefully add drops of water to the raindrop outline. How many drops of water can the raindrop hold before the water spills over the edge?

Repeat the activity on a raindrop of a different size or shape.

  1. Begin by drawing outlines of raindrops onto a piece of paper. Try to vary the size and shape of each raindrop.
  2. Place the paper inside a plastic wallet and position it on a flat surface. The plastic wallet helps to protect the paper from getting smudged or damaged as you add the water.
  3. Fill the pipette or syringe with water. Then carefully add drops of water to the raindrop outline. How many drops of water can the raindrop hold before the water spills over the edge? 
  4. Repeat the activity on a raindrop of a different size or shape.

What are we learning

As we add more drops of water onto the raindrop we see a dome shape forming. The water molecules are attracted to each other and make a single large drop. At the same time, a property called surface tension tries to minimise the surface area of the water, making the curve shape. This also prevents the water from spilling out. However, as we add more drops, the gravitational pull on the weight of the water eventually becomes more powerful than the surface tension, causing the water to spill.

As raindrops fall from the sky they begin their journey as a sphere shape. As they fall to the ground, the force of gravity pulls them downwards. The force of air resistance pushes up against them, flattening the bottom of the raindrop.

Investigate

Repeat this activity on a penny coin. Which side holds the most drops of water, heads or tails?

Careers associated with this activity